Understanding Minidv Tapes and Their Formats
What is Minidv and its History?
The MiniDV format, introduced in 1995 by Sony, Panasonic, and other members of the DV Consortium, marked a significant transformation in video recording technology. MiniDV, short for Mini Digital Video, paved the way for digital video tape recording, offering a compact design and high-quality audio and video capture. This format was a response to the demand for portable and efficient recording solutions during a time when analog formats like VHS dominated the market.
Initially aimed at consumers and professionals alike, MiniDV quickly gained popularity for camcorders, becoming the go-to standard for home videos, documentaries, and even feature films. This format provided enhanced resolution at 720×480 pixels in standard definition, which was a notable upgrade from its analog counterparts. As digital technology evolved, so did the capabilities of MiniDV, allowing for more sophisticated editing as well as easier duplication and sharing of content.
Common Uses of Minidv Tapes
MiniDV tapes have been widely utilized in various scenarios since their inception. They were particularly popular among amateur filmmakers and enthusiasts wanting to create high-quality videos without the expense of professional-grade equipment. The common uses of MiniDV tapes include:
- Home Videos: Families captured countless memories, holidays, and special occasions on MiniDV tapes.
- Independent Filmmaking: The lightweight nature of MiniDV camcorders allowed filmmakers to shoot on location with relative ease, making it a popular choice for indie projects.
- Educational Purposes: MiniDV was often used in educational settings, where engaging video content could be created for demonstrations and projects.
- Broadcasting: Some television production companies relied on MiniDV tapes for shooting segments and news reports before the complete transition to digital file formats.
Types of Minidv Tapes
Within the MiniDV realm, several types of tapes exist, each designed to cater to various recording needs and playback equipment. The main types of MiniDV tapes include:
- Standard MiniDV Tapes: These base tapes are designed for general use and are compatible with all MiniDV cameras.
- MiniDV HD Tapes: These tapes can record in higher definition and are optimized for professional-grade camcorders, allowing for better quality footage.
- MiniDV Tape with DVCAM Format: A variant employed primarily by the television and film industry, DVCAM offers improved recording quality and is considered the professional’s choice for critical work.
- MiniDV Cassettes: These are smaller tapes used specifically in lightweight camcorders. They also share compatibility with MiniDV players.
The Importance of Converting Minidv to Digital
Why Digital Formats Matter Today
As technology continues to advance, the significance of digital formats cannot be overstated. Digital files offer numerous benefits over analog counterparts, including ease of access, durability, and versatility. With Minidv to digital conversion, users experience enhanced quality preservation and adaptability for modern platforms, ensuring their cherished memories remain accessible for future generations. Digital files can also be seamlessly integrated into various media without quality loss, making sharing and showcasing content easier than ever.
Benefits of Digital Storage Over Tapes
The shift from physical tapes to digital formats introduces numerous advantages that are crucial in today’s fast-paced, technology-driven world. Here are the primary benefits of digital storage:
- Longevity: Digital files do not degrade over time like magnetic tapes, ensuring your videos last indefinitely with proper care.
- Accessibility: Digital formats allow for quicker access to footage, enabling users to view, edit, and share content easily across multiple devices.
- Storage Efficiency: Digital files require significantly less physical space compared to tapes, making organization and storage simpler.
- Editing Flexibility: Digital formats allow for advanced editing capabilities, including special effects, color grading, and audio enhancement.
Risks of Not Converting Minidv Tapes
Neglecting to convert your MiniDV tapes can lead to several risks, notably:
- Degradation of Quality: Over time, magnetic tapes deteriorate, which can result in the loss of video quality and audio fidelity.
- Obsolescence: As technology evolves, compatible playback devices become scarce, making it increasingly difficult to access your video content.
- Physical Damage: Tapes are susceptible to environmental factors like heat, humidity, and magnetic fields, which can permanently damage recordings.
- Loss of Memories: Ultimately, your valuable and irreplaceable memories stored on MiniDV tapes may be lost forever if not converted in time.
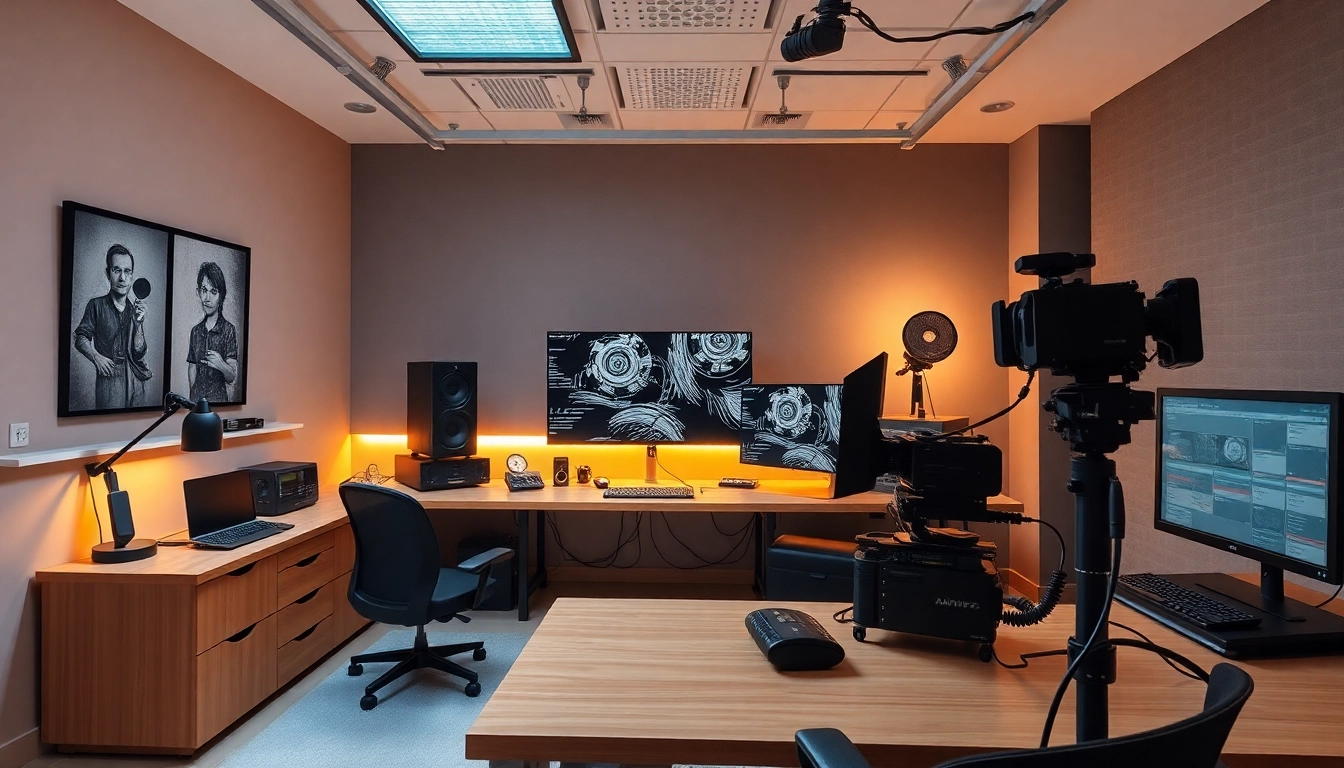
Tools and Equipment for Minidv to Digital Conversion
Essential Hardware and Software
To successfully convert MiniDV tapes into digital formats, you will need the appropriate hardware and software. Essential tools include:
- MiniDV Camcorder or VCR: Accessing your tapes requires a compatible playback device, typically a MiniDV camcorder or a dedicated MiniDV VCR.
- Video Capture Device: Using video capture hardware, such as a USB capture card, allows for transferring the footage from the MiniDV player directly to a computer.
- Computer: A computer with enough storage and performance capabilities to handle video processing and editing is essential for the conversion process.
- Editing Software: Applications such as Adobe Premiere Pro, Final Cut Pro, or free alternatives like DaVinci Resolve provide the tools necessary to edit and save your digital files.
Recommended Video Capture Devices
Selecting the right video capture device is crucial for achieving high-quality results during the conversion process. Here are some recommended options:
- Elgato Video Capture: Known for its ease of use, this device allows for direct capture from MiniDV camcorders via USB, providing a seamless experience.
- Blackmagic Intensity Shuttle: This high-performance capture solution supports HDMI and analog video capture, making it ideal for more advanced users.
- AVerMedia Live Gamer Portable 2 Plus: This versatile device supports a range of input options, facilitating direct capture from your MiniDV tapes.
Top Software Solutions for Editing
Once your MiniDV footage is captured digitally, editing software plays a crucial role in enhancing your video. Here are some of the top software solutions:
- Adobe Premiere Pro: A professional-grade tool loaded with features allowing for advanced editing, color correction, and sound design.
- Final Cut Pro: Designed specifically for macOS, this application offers high-performance editing opportunities for professionals.
- iMovie: A more accessible option for beginners, iMovie provides intuitive tools to edit videos easily without compromising on quality.
- DaVinci Resolve: A powerful, free software that caters to both beginners and professionals, boasting state-of-the-art color correction and editing capabilities.
Step-by-Step Guide to Convert Minidv Tapes to Digital
Preparing Your Equipment
Before diving into the conversion process, it is essential to prepare your equipment properly. Here’s how to get started:
- Gather Your Equipment: Ensure you have all necessary hardware and software ready to go, including your MiniDV camcorder or VCR, video capture device, and computer.
- Install Software: Download and install any required video capture software and video editing programs on your computer.
- Check Connections: Connect the MiniDV player to your computer using the video capture device. Pay attention to whether your equipment requires USB, FireWire, or RCA connections.
- Test Functionality: Power on your MiniDV player and check whether the playback operates correctly through the capture device and software.
Transferring Footage: A Walkthrough
Once your equipment is set up and tested, you can begin the actual transfer of footage from MiniDV to digital format. Follow these steps:
- Insert the MiniDV Tape: Place the MiniDV tape into the camcorder or VCR and rewind to the beginning of the footage.
- Start the Capture Software: Launch the video capture program on your computer and prepare it to begin recording.
- Press Play: Start playback on your MiniDV player while simultaneously hitting the record button in the capture software. Ensure both runs simultaneously for optimal results.
- Monitor the Capture: Observe the transfer process. Pausing or stopping at points of interest can help in editing later on.
- Complete the Transfer: Once the tape has finished playing, stop the capture software and save the file in a designated location on your computer.
Editing and Saving Your Digital Files
After you have successfully transferred your footage to digital format, it is time to edit and save your files. This process typically involves:
- Importing Your Footage: Open your editing software and import the captured video files for editing.
- Editing Your Video: Trim unwanted parts, add transitions, include background music, and apply special effects as needed to enhance your video.
- Exporting the Finished Product: Once satisfied with your edits, export the final version of the video in your desired format (MP4, MOV, etc.) at the highest quality available.
Preserving and Storing Your Digital Files
Best Practices for Digital File Storage
After converting your MiniDV tapes to digital, preserving these files requires careful consideration and organization. Here are best practices for digital file storage:
- Use Multiple Storage Solutions: To prevent loss, save copies of your video files on multiple devices such as external hard drives and cloud storage solutions.
- Organize Files Logically: Create a systematic folder structure categorizing videos by date, event, or project to streamline locating them later.
- Regular Backups: Set a schedule for regularly backing up your video files to protect against data loss or hardware failures.
- Use Descriptive Metadata: Tag files with relevant information such as dates, events, and content descriptions to facilitate easy searches in the future.
Organizing and Backing Up Your Digital Content
A well-organized digital library not only improves efficiency but also ensures that you can easily locate your treasured memories. Here are steps to organize and back up your content:
- Create a Backup System: Develop a routine to back up your files to both local devices and cloud storage, thus ensuring redundancy.
- Labeling and Naming Files: Use clear and systematic naming conventions to reflect content and dates for easier identification.
- Utilize File Management Software: Consider using media management tools to keep track of your video library in one place, especially for extensive collections.
Future-Proofing Your Digital Library
With rapid technological advancements, future-proofing your digital library is crucial for maintaining accessibility. Here’s how to stay ahead:
- Regularly Update Formats: Stay updated on the latest video formats and trends. Migrate older files to newer, more compatible formats to ensure longevity.
- Monitor Storage Technology: Be aware of emerging storage technologies and replace outdated devices with current alternatives to maintain accessibility.
- Re-evaluate Storage Solutions: Regularly assess your storage solutions to ensure they still meet your needs and offer adequate protection against data loss.