Understanding Vapor Barrier Installation
What is a Vapor Barrier?
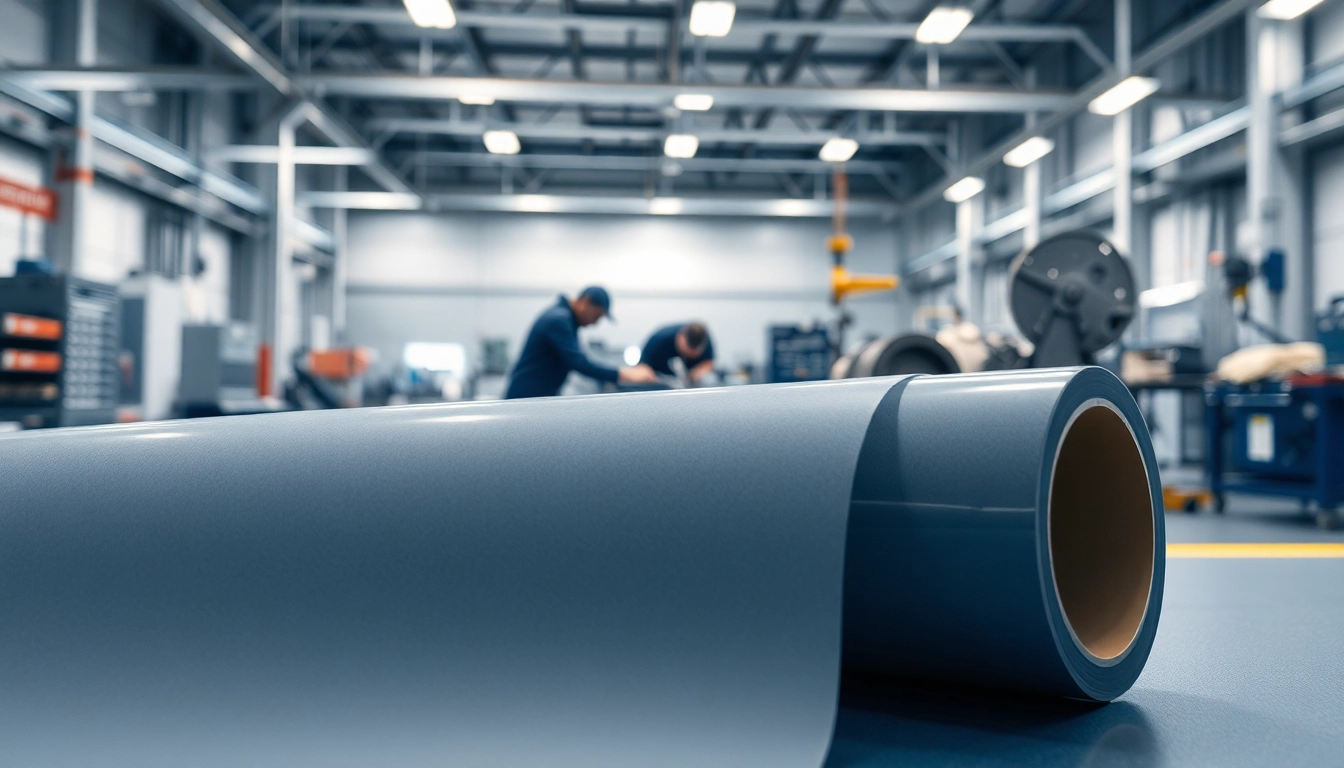
A vapor barrier is a material used to prevent moisture from passing through walls, ceilings, and floors. Typically made from a polyethylene film or a foil material, vapor barriers serve as an essential component in building construction, particularly in areas prone to high moisture levels. By blocking or slowing the passage of water vapor, these barriers help prevent issues such as mold growth, structural damage, and indoor air quality problems. Installing a vapor barrier effectively is vital for ensuring the longevity and stability of your structure.
Importance of Vapor Barrier Installation
The proper vapor barrier installation cannot be overstated. In regions with high humidity or during certain seasons, moisture can seep into building materials, leading to deterioration and a variety of issues. A properly installed vapor barrier minimizes the risk of water vapor entering living spaces, which can help maintain comfortable humidity levels and prevent unpleasant and costly problems like mold and mildew. Additionally, a vapor barrier plays a key role in energy efficiency, reducing heating and cooling costs by preventing energy loss due to moisture infiltration.
Common Myths about Vapor Barriers
Misunderstandings about vapor barriers can lead to improper installation and ineffective moisture control. Here are some common myths:
- Myth 1: All buildings need a vapor barrier – While many structures benefit from vapor barriers, some environments may not require them, such as areas with low humidity. Local building codes often dictate the necessity of a vapor barrier, so it’s essential to consult with a professional.
- Myth 2: Any plastic can serve as a vapor barrier – Not all plastics are created equal. The materials used should have specific properties designed to resist moisture permeability. Polyethylene with varying thicknesses and foils are common choices.
- Myth 3: Vapor barriers should be placed on both sides – This can lead to trapping moisture. In most cases, a vapor barrier is either placed on the warm side (inside) of the insulation in cold climates or on the exterior side in warm climates.
Types of Vapor Barriers
Plastic vs. Foil Vapor Barriers
When selecting the appropriate vapor barrier for your installation, two prominent choices include plastic and foil barriers. Each offers unique benefits:
- Plastic vapor barriers: Typically made from polyethylene, these barriers are lightweight, cost-effective, and easy to install. They are available in various thicknesses, ranging from 6 mil to 20 mil, with thicker options providing greater durability and moisture resistance.
- Foil vapor barriers: Often used in commercial applications, foil barriers excel in reflecting heat, making them suitable for roofs and attics in hot climates. They are also effective in resisting moisture, but installation requires careful attention to seams and edges.
Choosing the Right Material for Your Needs
Choosing the right vapor barrier material depends on several factors, such as climate, location, and specific application. Consider the following:
- Local climate: Areas with high humidity may benefit from thicker barriers, while less humid regions may require lighter options.
- Location: Based on building design, a barrier might be in crawlspaces, basements, or interior walls, which may dictate the type of material selected.
- Function: Whether the vapor barrier is being used for insulation purposes, as a moisture control measure, or for energy efficiency can impact material decisions.
When to Use a Vapor Barrier
Proper installation of vapor barriers is crucial during specific construction scenarios, including:
- Basement Construction: Any basement, particularly in humid areas, should incorporate a vapor barrier to protect against rising damp from the soil.
- Crawlspaces: These areas are prone to moisture buildup; installing a vapor barrier helps separate ground moisture from the home.
- New Insulation Installation: When adding or replacing insulation, it’s important to evaluate the need for a vapor barrier to enhance energy efficiency and moisture management.
Steps for Proper Vapor Barrier Installation
Preparing the Space
Before beginning the vapor barrier installation, careful preparation is essential. First, clear the area of any debris or obstructions. These could potentially damage the barrier once installed. Next, ensure the surface is dry; moisture remaining on the surfaces can lead to trapped water, defeating the purpose of the barrier.
Measuring and Cutting the Material
Accurate measurements are vital for the effective installation of a vapor barrier. Measure the area where the barrier will be installed, adding extra material to allow for seams and overlaps. Using a utility knife or scissors, cut the barrier to size, ensuring it is appropriately sized for the designated area.
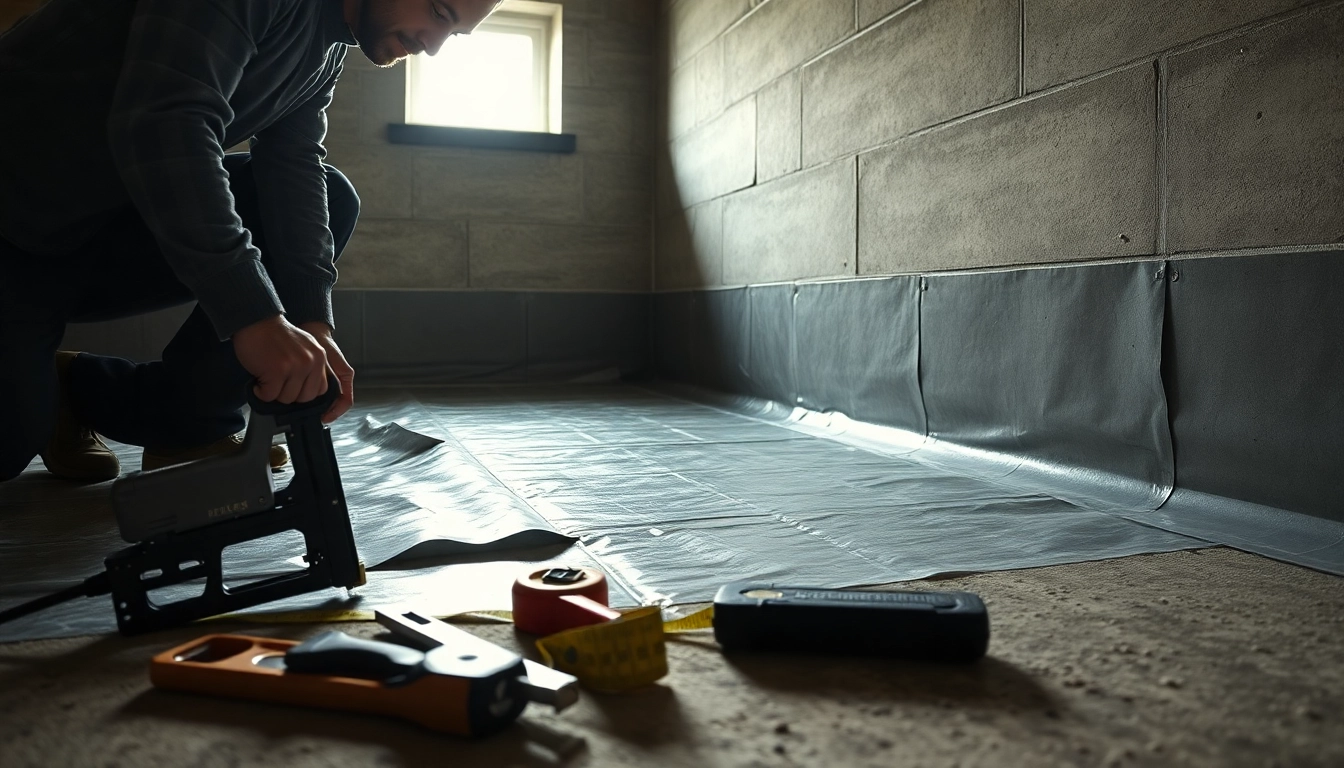
Securing the Vapor Barrier Effectively
Once the vapor barrier is cut to the proper size, lay it flat in the designated area. Overlap seams by at least 12 inches and secure using waterproof tape or adhesive. Ensure it is pressed firmly against the surface to prevent gaps, as any openings can allow moisture to enter.
Best Practices for Maintaining Vapor Barriers
Regular Inspections
Even after proper installation, routine inspections are critical for a functioning vapor barrier. Regular checks for tears, holes, or any signs of deformation can prevent further issues. This oversight is particularly vital in basements and crawlspaces, where moisture levels can fluctuate widely.
Addressing Common Issues
If signs of issues are detected, such as water stains or mold growth, it is imperative to investigate further. Finding the source of moisture and addressing it immediately can mitigate potential damage. Areas that have been compromised must be repaired, and in certain cases, it may be necessary to replace the vapor barrier altogether.
Long-Term Damage Prevention
Long-term effectiveness of a vapor barrier hinges on adequate maintenance. Keep gutters clean, ensure proper grading around the foundation, and address any drainage issues that may arise. Additionally, preventing condensation by controlling indoor humidity can also play a significant role in sustaining the integrity of the vapor barrier.
Measuring the Effectiveness of Vapor Barrier Installation
Signs of Proper Installation
After installation, it’s essential to confirm that the vapor barrier functions as intended. Signs of proper installation include a stable indoor humidity level and the absence of musty odors or mold growth in adjacent areas. Additionally, checking for any condensation on walls where the barrier has been installed can indicate effectiveness.
How to Identify Installation Errors
Common installation mistakes can severely impact the performance of vapor barriers. Look for the following signs of errors:
- Visible seams or gaps: This can indicate improper overlap during installation.
- Moisture damage: Stains or mold present on barriers suggest water has bypassed the installation.
- Condensation on interior surfaces: This may signal inadequate vapor barrier placement or material quality.
Improving Indoor Air Quality with Effective Vapor Barriers
Ultimately, a well-installed vapor barrier contributes positively to indoor air quality. By minimizing moisture levels, these barriers can effectively reduce the growth of mold and mildew, which are known allergens. Furthermore, controlling humidity creates a healthier environment, positively affecting respiratory conditions and overall health.