Understanding the Basics of Dryer Repair
Dryers are essential appliances in modern households, providing the convenience of quickly drying clothes after washing. However, like all machines, dryers can experience issues that impair their functionality. Understanding the basics of dryer repair is crucial for homeowners looking to troubleshoot and resolve problems. This article will cover common dryer issues, the essential tools needed, safety precautions to take during repairs, and a step-by-step guide to DIY repairs.
Common Dryer Issues and Their Symptoms
Several common issues can arise with dryers, and identifying the symptoms associated with each can help you diagnose the problem quickly. Here are some of the most frequent problems:
- Dryer Not Starting: If pressing the start button results in no activity, it could be an electrical issue, a blown fuse, or a faulty door latch.
- Not Heating: This can indicate a malfunctioning heating element, a broken thermostat, or blockages in the venting system leading to inadequate airflow.
- Clothes Taking Too Long to Dry: A clogged lint filter, a blocked vent, or issues with the dryer drum can cause extended drying times.
- Unusual Noises: Grinding, squeaking, or thumping sounds may suggest problems with the dryer drum, motor, or belt.
- Overheating: This can lead to a fire hazard and is often caused by clogged vents or faulty thermostats.
Essential Tools for Effective Dryer Repair
Before embarking on any DIY dryer repair project, it’s important to gather the necessary tools. Common tools that will assist you in effectively repairing your dryer include:
- Screwdrivers: A set of Phillips and flathead screwdrivers for removing screws.
- Multimeter: This tool is essential for diagnosing electrical issues by measuring voltage, current, and resistance.
- Pliers: Useful for gripping and turning various components.
- Tape Measure: To measure parts and ensure fits when installing new components.
- Cleaning Brushes: For removing lint buildup in ductwork and vents.
- Work Gloves: To protect your hands while working on the machine.
Safety Precautions During Dryer Repair
Safety should always be your top priority when attempting repairs on electrical appliances. Here are some essential safety precautions to keep in mind:
- Always disconnect the dryer from the power source before performing any maintenance.
- Ensure the dryer is completely cool before beginning any repairs.
- Wear safety goggles and gloves to protect against sharp components and electrical hazards.
- Work in a well-lit area to prevent accidents caused by poor visibility.
- Keep the workspace organized to avoid tripping hazards and to ensure that small parts do not get lost.
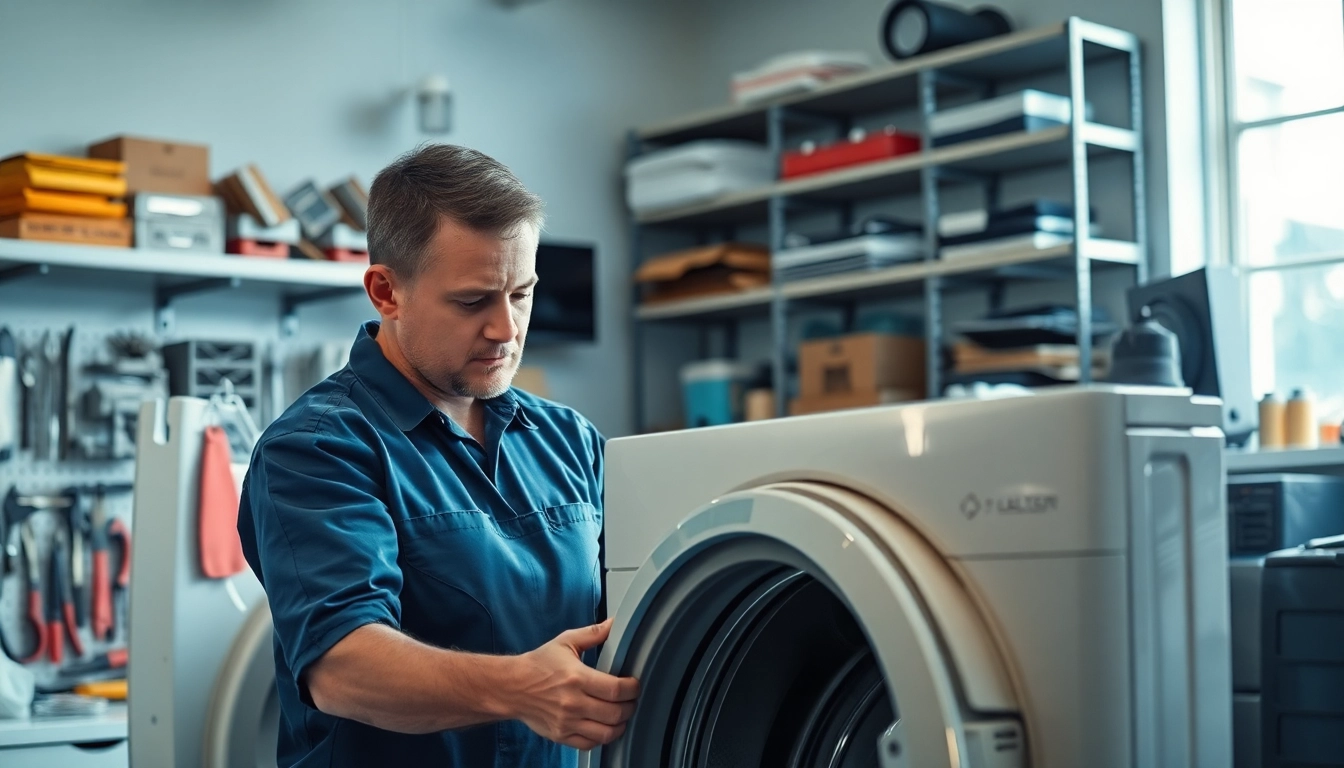
Step-by-Step Guide to DIY Dryer Repair
Now that we’ve covered the basics, let’s delve into a practical, step-by-step guide for common dryer repairs that you can perform yourself.
Identifying Electrical Problems in Your Dryer
Electrical problems are a frequent cause of dryer malfunction. Here’s how you can identify them:
- Check the Power Source: Ensure the dryer is plugged in and that the outlet is functioning by testing it with another device.
- Inspect the Circuit Breaker: If the dryer doesn’t start, check the circuit breaker or fuse box for tripped breakers or blown fuses.
- Use a Multimeter: Set a multimeter to the AC voltage setting and test the outlet for proper power supply. If there is no voltage, the issue might be with the outlet or the dryer cord.
- Examine the Door Switch: If the dryer door does not close completely, the door switch may need to be replaced. This switch ensures that the dryer operates only when the door is securely shut.
How to Replace a Dryer Belt
If your dryer drum isn’t spinning, a worn or broken belt may be the culprit. Here’s how to replace it:
- Disconnect the Power: Always unplug the dryer first to ensure safety.
- Remove the Dryer Panel: Use a screwdriver to detach the front or rear panel, depending on your dryer model.
- Remove the Old Belt: Take a note of the belt routing, and then carefully remove it from the drum and motor pulley.
- Install the New Belt: Route the new belt around the drum and motor pulley based on your earlier reference.
- Reassemble the Dryer: Once the new belt is installed, replace the panel and reconnect the power.
Cleaning and Maintaining Your Dryer for Longevity
Regular maintenance can prevent many issues and extend the life of your dryer. Follow these tips:
- Clean the Lint Filter: Make it a habit to clean the lint filter after every load to improve efficiency and reduce fire risk.
- Inspect the Ventilation Duct: At least once a year, clean the venting duct to remove lint buildup that can block airflow.
- Check the Drum Seals: Inspect the drum seals regularly for wear and replace them to maintain heating efficiency and prevent airflow issues.
- Schedule Professional Maintenance: Consider having a professional service your dryer annually to ensure everything is in working order.
Advanced Techniques for Complex Dryer Repairs
While many dryer problems can be tackled with basic troubleshooting, some issues require advanced techniques. Here are a few more complex repairs you might encounter:
Diagnosing Heat-Related Issues
Heat issues can be particularly tricky to diagnose. Follow these steps:
- Check Thermostat Settings: Ensure the thermostat is set to the proper heat level for your drying needs.
- Examine the Heating Element: Use a multimeter to test the heating element for continuity. If there’s no continuity, it will need replacement.
- Inspect the High-Temperature Cutoff: This safety device can trip if it detects overheating. Check it for functionality and replace if necessary.
- Clean Venting Pathways: A blocked vent can cause overheating, so ensure that the pathway is clear for efficient ventilation.
Fixing Faulty Drum Rollers
Faulty drum rollers can lead to noisy operation or a stuck drum. Here are steps to troubleshoot and replace:
- Unplug the Dryer: As always, safety first; ensure the dryer is disconnected from the power supply.
- Remove the Dryer Front Panel: Access the drum by removing the front panel of the dryer.
- Inspect Rollers: Check for wear and tear on the drum rollers. If they feel rough or do not spin freely, they should be replaced.
- Replace Rollers: Remove the old rollers and install new ones, ensuring they are seated correctly.
- Reassemble the Dryer: Put the front panel back in place and ensure all screws are tightened before reconnecting the power.
When to Consider Professional Help for Dryer Repair
While many repairs can be handled on your own, there are moments when enlisting a professional is the best solution. Here are scenarios when you should consider this option:
- If the issue involves complex electrical components and you lack experience.
- When safety risks, such as overheating and fire hazards, are present.
- If you are unable to identify the problem after thorough troubleshooting.
- For repairs covered under warranty, to avoid voiding the agreement.
Maximizing Energy Efficiency with Your Dryer
Energy efficiency is not just about saving money—it’s also about reducing your environmental impact. Here’s how to maximize the efficiency of your dryer:
Signs Your Dryer Needs an Energy Upgrade
Identify the signs that your dryer may require an energy efficiency upgrade, such as:
- Increased Drying Time: If your dryer is taking longer than usual to dry clothes, it may be losing efficiency.
- High Energy Bills: A significant spike in your energy bills can indicate that your appliance isn’t as efficient as it should be.
- Overheating: If your dryer runs hotter than normal, it might not be functioning efficiently.
Implementing Energy-Saving Practices
Implement these practices to enhance energy efficiency:
- Dry Similar Fabrics Together: Grouping similar load types can optimize drying time.
- Use Sensor Drying Options: Select models equipped with moisture sensors to prevent over-drying.
- Dry Full Loads: Whenever possible, run full loads to maximize energy use without overloading the dryer.
- Consider Air Drying: Whenever feasible, air-dry clothes to reduce dryer usage.
The Benefits of Regular Dryer Maintenance
Regular maintenance not only ensures that your dryer operates effectively but also prolongs its life. Key benefits include:
- Improved Efficiency: A well-maintained dryer operates more efficiently, helping to lower energy bills.
- Fewer Repairs: Regular checks can lead to the identification of minor issues before they escalate into major repairs.
- Enhanced Safety: Cleaning vents and filters reduces the risk of fire hazards associated with lint buildup.
Key Considerations When Choosing a Dryer Repair Service
If you decide that a professional is necessary for your dryer repair, it’s vital to choose a service that aligns with your needs. Here are some key considerations:
Evaluating Credentials and Experience
When searching for a dryer repair service, consider the following:
- Licenses and Certifications: Ensure the technicians are licensed and possess necessary certifications in appliance repairs.
- Experience: Assess how long the company has been in business and their track record in handling dryer repairs.
Understanding Costs and Estimates
Before committing to a repair service, obtain a detailed cost estimate:
- Request Itemized Quotes: Ensure that the quote outlines labor and parts to understand where the costs come from.
- Compare Different Services: Getting multiple quotes allows you to evaluate pricing against services offered.
Customer Reviews and Reputation in Dryer Repair
Researching customer reviews can provide insight into the quality of service:
- Read Online Reviews: Check platforms like Google, Yelp, and Facebook for customer feedback.
- Ask for References: A reputable repair service will gladly provide you with references from previous clients.